

Opening a Shopify store is far less complicated than most first-time founders expect. The platform handles the hard infrastructure, things like hosting, security, and checkout, so your only real job is to make smart decisions about your offer and present it clearly. This guide walks through the exact five-step sequence experienced merchants follow to go from an empty dashboard to a live, revenue-ready storefront, often in a single focused afternoon.
Step 1: Claim Your Free Trial and Initial Setup
Head to Shopify and start the free trial. No credit card is required to begin building. Choose your store name during signup; this becomes your default myshopify.com address but can be changed later, so do not overthink it. A clean, pronounceable word beats a clever one you have to spell out loud, and you can always attach a custom domain down the line.
Once inside, go to Settings then General and set your store's base currency, address, and time zone before anything else. Getting the base currency right early matters because it anchors all your future pricing and payout reporting, and changing it after you have live orders is painful. Spend five minutes here, then move on; polishing settings endlessly is the classic way to avoid the real work of selling.
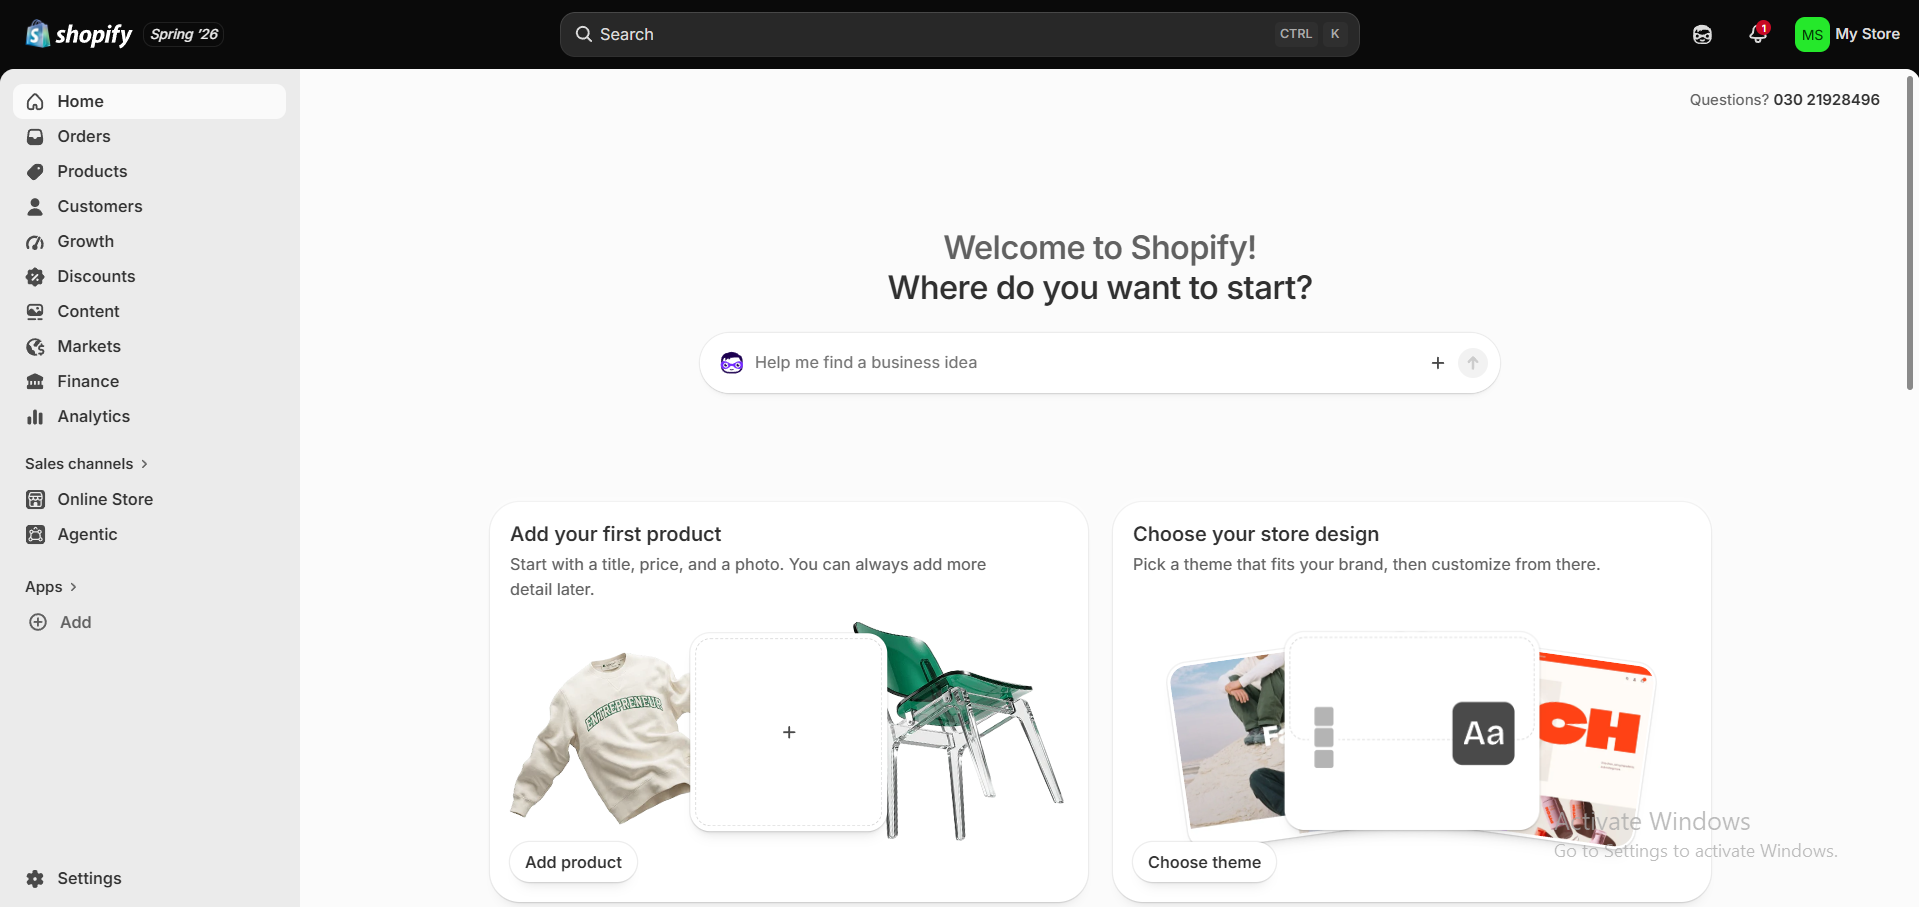
Step 2: Theme Selection and Visual Hierarchy
Resist the urge to buy a premium theme on day one. Start with a high-quality free theme like Dawn or Spotlight. Both are fast, mobile-first, and built by Shopify to convert. A free theme you launch beats a paid theme you keep tweaking for a month.
Focus your energy on visual hierarchy rather than decoration. Optimize the hero section so a first-time visitor instantly understands what you sell and why it matters. Keep your main navigation short and obvious, and make sure your core page links, such as Shop, About, Contact, and policies, are one click away.
Step 3: Adding Your Core Products
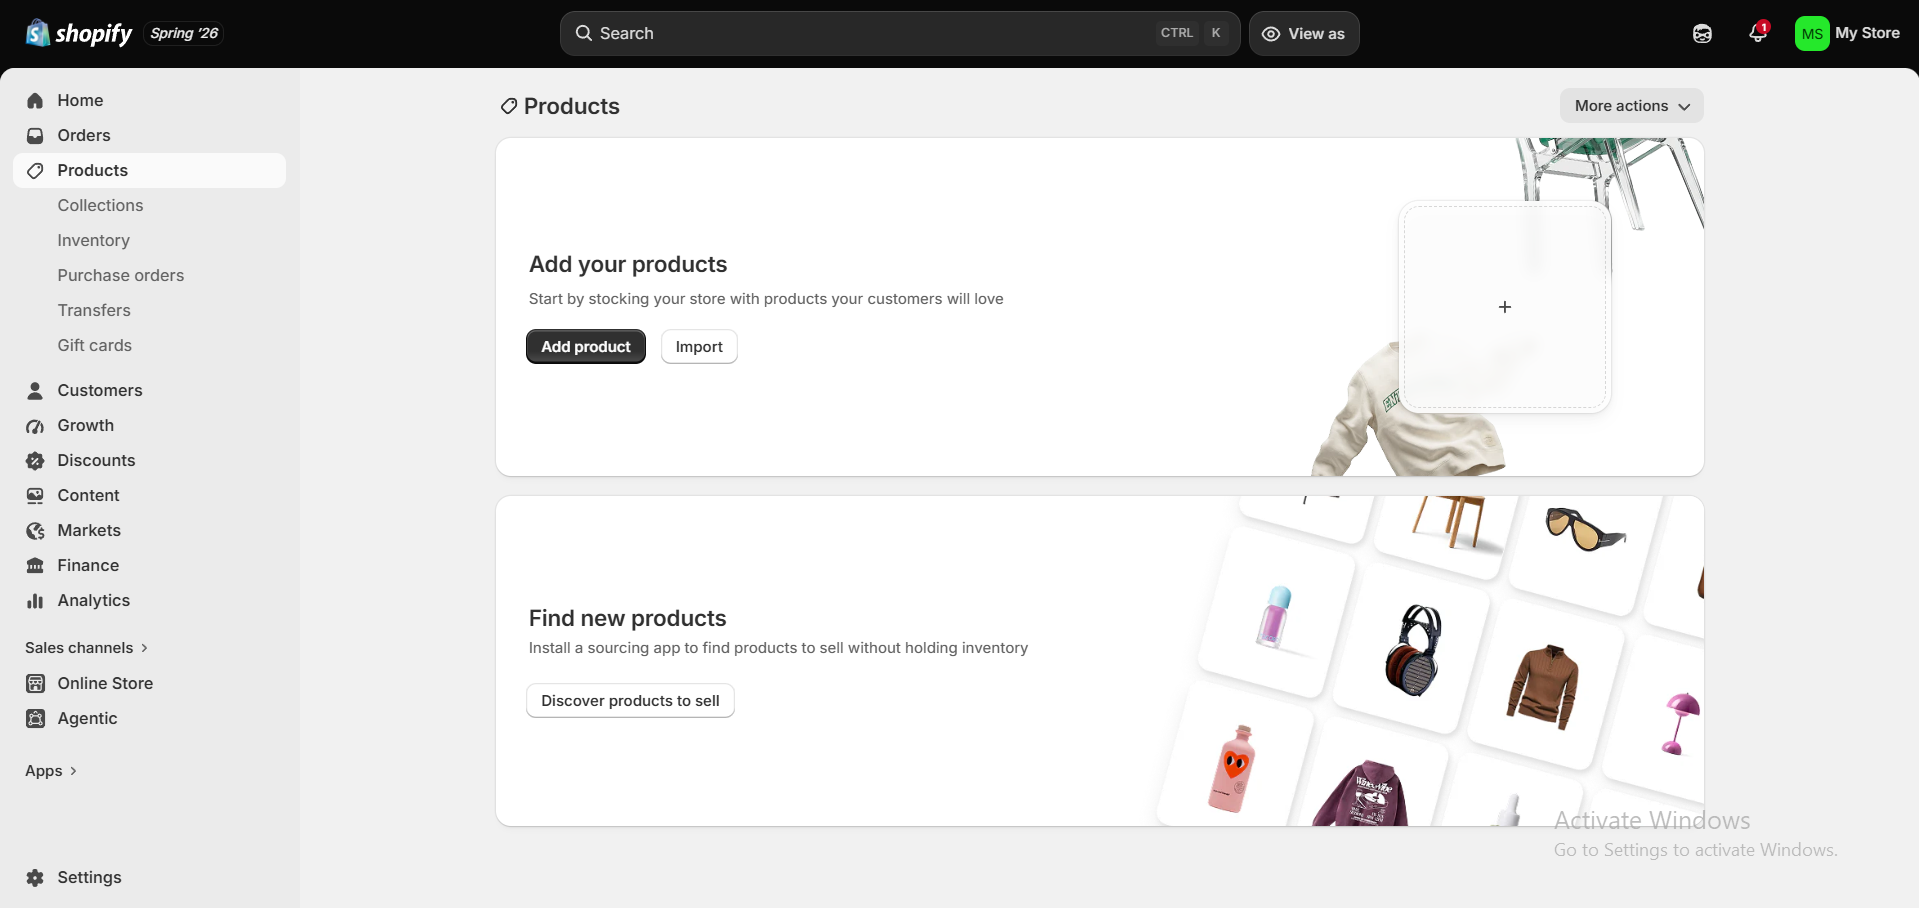
Add one product properly rather than ten poorly. For each product, write an outcome-driven title that states the benefit or result, not just the object. Describe what the customer gets, not merely what the item is. Under the title, add three concise benefit bullet points that answer the silent question every shopper asks: what is in it for me?
Photography sells more than copy ever will. Upload at least four clean images per product on a plain, consistent background: a main shot, a detail shot, a scale or in-use shot, and a packaging or alternate angle. Finally, set your price with intention. Factor in product cost, shipping, transaction fees, and the margin you actually need to stay in business.
Step 4: Payments and Shipping Configuration
Under Settings then Payments, activate Shopify Payments if it is available in your country. It offers competitive rates and, crucially, removes the extra third-party transaction fee Shopify charges when you use an external gateway. If Shopify Payments is not supported in your region, connect a trusted local gateway plus a recognised wallet like PayPal so customers see a familiar, low-anxiety checkout.
For shipping, keep it simple at launch. Set a single flat-rate shipping rule, or free shipping baked into your price, rather than agonising over carrier-calculated zones you do not yet need. You can layer in weight-based or regional rates once real orders reveal where your customers actually are.
Step 5: Store Launch and Initial Validation
New Shopify stores are hidden behind a storefront password by default. When you are ready, go to Settings then Preferences (Online Store then Preferences on newer layouts) and remove the password to make your store public. Do not wait for perfection, because launching is how you start learning.
Your first published version should feel slightly uncomfortable; that discomfort means you shipped instead of polished forever. Send the link to friends, relevant communities, and early prospects, and watch how real people navigate it. One week of genuine visitor feedback teaches you more about what to fix than a month of solo planning ever could.
The Bottom Line
Starting a Shopify store rewards action over perfection. Follow these five steps in order, resist the urge to polish endlessly, and treat your launch as the true beginning of the learning process rather than the finish line. Every real visitor teaches you something a planning document never could, so the sooner your doors are open, the sooner you improve.
Keep your first version simple, honest, and clear, then let genuine customer behaviour guide each next decision. The founders who succeed are rarely the ones with the most perfect launch; they are the ones who shipped, listened, and iterated. Build the store, open the doors, and let real feedback do the heavy lifting from here.
Frequently Asked Questions
Do I need a registered business to start on Shopify?
No, you can sign up as an individual or sole proprietor and register your business details as you generate sales.
How much does it cost to start a Shopify store?
You can start with a free trial, after which basic plans start at standard regional pricing, with promotional periods sometimes as low as one dollar per month.
Can I sell both physical and digital products?
Yes, Shopify natively supports physical items and digital downloads through free apps like Shopify Digital Downloads.